
Learn how to assess your home’s electrical capacity, choose the right installation spot, avoid costly upgrades, and prepare for a smooth Level 2 charger setup.
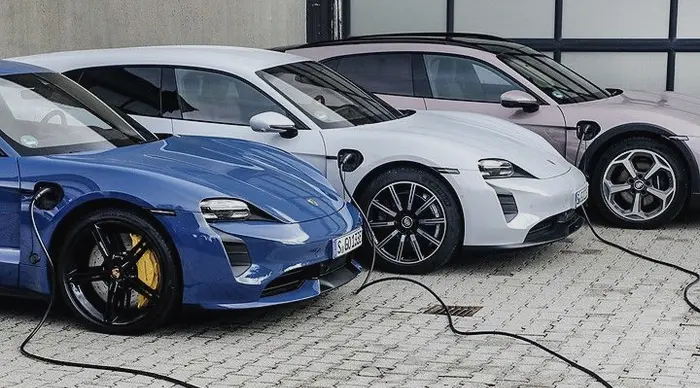
The best part of having an all-electric vehicle is waking up to a “full-charge” every morning. For that we must have a Level 2 EV charger installed at home, right?
But, you cannot just nail that new charger to the garage wall and call it a day. Before any of that, there’s a critical step: the Home EV Charger Readiness Assessment.
This guide is your complete home ev charger readiness assessment. We’d argue it’s the most critical step you’ll take, as it determines your installation’s cost, speed, and, frankly, its possibility.
So, let’s dive in…
What Are We Actually Assessing For? (And Why)
The core problem is simple. A Level 2 charger is a massive electrical load. It’s perhaps the biggest single appliance in your entire home, drawing power continuously for hours.
This assessment is all about preventing three things.
First, costly surprises. The difference between a $500 install and a $5,000 one is always found during this pre-check. We’re talking panel upgrades, trenching… big-ticket items.
Second, safety hazards. An overloaded electrical panel is not just an inconvenience; it’s a serious fire risk.
Third, a slow charger. Installing a charger on an insufficient circuit means you’ll have to “de-rate” it (run it at a lower power), and you simply will not get the charging speeds you paid for.
To be clear, a Level 1 (120V) charger just plugs into a standard wall outlet. No assessment needed, albeit it’s painfully slow. This guide is for a proper Level 2 (240V) installation.
Home EV Charger Readiness Assessment: The Core Electrical Assessment -Your Service Panel

Let’s get to the core of it. Everything and we mean everything hinges on your main electrical panel.
1. Find Your Panel & Total Capacity
First, you need to physically find your panel. It’s usually in the garage, basement, or a utility closet. Go look at it.
You’re looking for the main breaker, which is the big one at the top or bottom, separate from the others. What’s the number on it? 100? 150? 200?
The Expert Take: 200 Amps (200A) is the modern standard and, on the whole, ideal for an EV. 150A is probably okay, but it’s getting tight. Only 100A? We’d say you are almost certainly going to have a challenge. It does not mean it’s impossible, but you’ve got to be particularly careful.
2. The Load Calculation: The Most Important Number
It’s not just the total panel size. It’s about your spare capacity.
Think of it like this. Your 100A panel is your total power budget. Your AC, electric dryer, and oven are already eating up big chunks of that budget.
A load calculation is the official process (per the National Electrical Code, or NEC) to determine your home’s peak power usage.
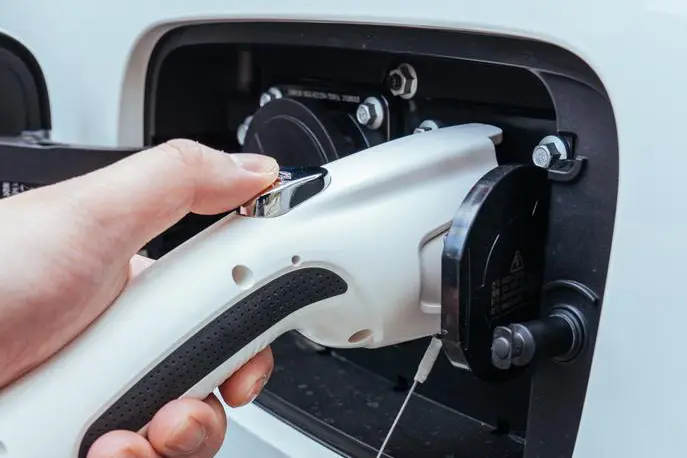
A new EV charger needs a dedicated circuit. Say, 40A or 50A.
However, the big question is. Do you have that much capacity left over at peak times?
This is not a DIY guessing game. Honestly, it’s the single most important reason to hire a licensed electrician. They will perform this calculation to see what’s actually available.
3. Physical Breaker Space
This one seems obvious, but oddly, people forget. Open the panel door.
Are there any empty, black-looking slots? A 240V charger needs two adjacent, full-size slots to fit a double-pole breaker.
If it’s completely full, you’re not out of luck, but it adds a step. You might need a tandem breaker for other circuits to free up space, or you might need a new subpanel (which adds cost).
4. The Panel Upgrade (The “Worst” Case)
Let’s talk about the elephant in the room.
If your panel is 100A and the load calculation shows it’s already maxed out, you will likely need a full service upgrade to 200A.
There’s no sugarcoating it: this is a multi-thousand-dollar job. Hence, the importance of this assessment before you buy that fancy charger.
5. A Word on Load Management
Now for some good news. If you’re on the borderline, you have options.
Better still, ask your electrician about an Energy Management System (EMS), sometimes called a “load shedder” or just a “smart” panel. These devices are pretty slick. They monitor your home’s total power draw in real-time. If you turn on the AC and the oven, the EMS will automatically (and temporarily) throttle the EV charger to prevent an overload.
It’s an elegant solution and well worth the investment if you’re on the borderline.
The Physical Assessment: Location, Location, and Location
Okay, the electrical part is the main hurdle. Now, let’s talk about the physical install. Where, exactly, is this charger going to live?
1. Garage vs. Driveway
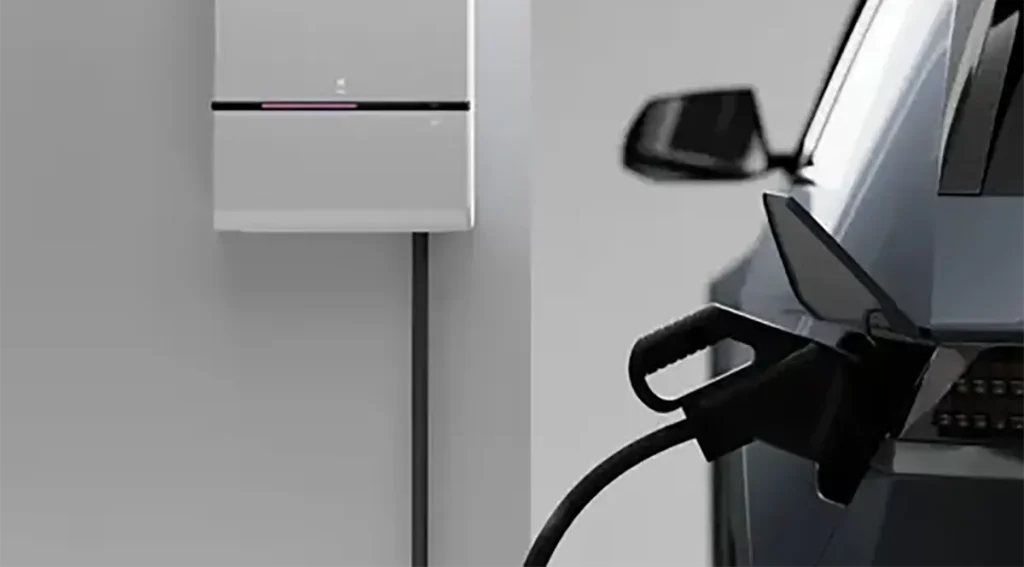
● Attached Garage: This is the gold standard. It’s the easiest and, therefore, the cheapest. The charger is protected from weather, and the cable run from the panel (which is often also in the garage) is short.
● Detached Garage: This is more complex. You’ll probably have to run power from the house to the garage, which means trenching an underground conduit. That adds significant cost.
● Outdoor/Driveway: Totally doable, but you have to be smart about it. You must buy a charger with a NEMA 3R or, better yet, NEMA 4 rating. This assures it can handle rain, snow, and ice. The chargers we offer at Duevolt, in particular, are built to this standard.
2. The Cable Run: Factoring in Distance and Cost
The single biggest cost variable (after a panel upgrade, of course) is the distance from your panel to the charger location.
That thick 6-gauge or 8-gauge copper wire is expensive. So is the labor to run it through finished walls, attics, or ceilings.
A 10-foot run in an unfinished garage? Simple. An 80-foot run, up into the attic, and down the opposite wall? That’s a ballpark $1,000+ difference right there.
3. The Smart Check: Wi-Fi Signal
Here’s the one everyone misses. You’re buying a smart home EV charger, right? You want those cool features like utility rebates, scheduled charging, and software updates.
Well, all those features depend on one simple thing. A strong Wi-Fi signal.
Do this right now: go stand where you want to install the charger. Hold up your phone. Do you have two or three bars of Wi-Fi? If not, you’d better plan on buying a Wi-Fi extender or a mesh node.
A smart charger with no signal is, well, just a dumb charger. Kind of defeats the purpose, you know?
The Final Hurdles: Permits & Costs
We’re in the home stretch. You’ve checked your panel and picked a spot. Now for the logistics.
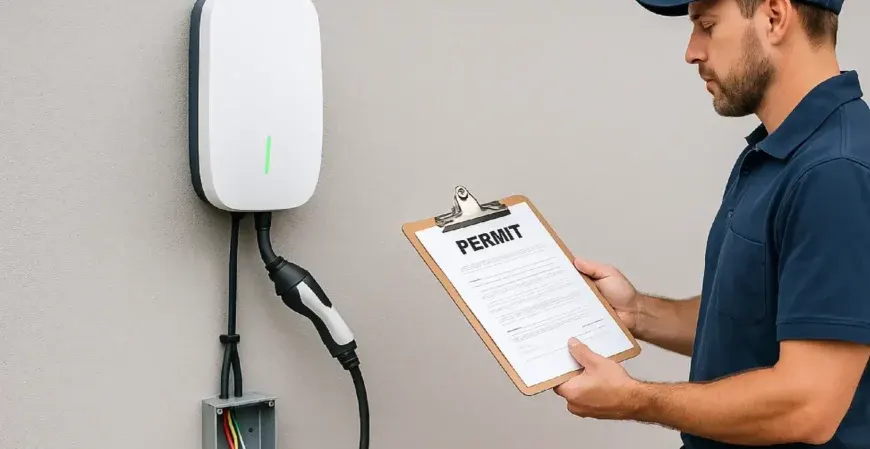
1. Permits are Non-Negotiable
Yes, you need an electrical permit.
Any electrician who says, “we can do it without one to save you a few bucks” should be shown the door. A permit ensures the work is inspected for safety and code compliance. This is what protects your home insurance policy. Don’t skip it.
Make sure to read our complete guide on EV Charger Permit.
2. Typical Installation Costs
The charger itself will run you $400 – $800. The installation, however, is the real “how long is a piece of string” question.
● Simple Install: (200A panel, nearby, in the garage) -> $500 – $900.
● Medium Install: (Longer cable run, new subpanel) -> $1,000 – $2,000.
● Complex Install: (Full panel upgrade, trenching) -> $2,500 – $5,000+.
Check out Duevolt’s Level 2 smart home charger at just $409, click here!
3. Rebates!
Don’t leave money on the table. Check for federal tax credits. But more importantly, call your local utility.
Speaking of which, they often have huge rebates on specific charger models or installation costs.
In Closing
Long story short, a Home EV Charger Readiness Assessment is 90% inspection and 10% planning. You’ve now done the basic inspection yourself.
You know where your panel is, you know its approximate size, and you have a good idea of where you want the charger.
Your only next step is to call at least two, preferably three, licensed electricians to get formal quotes.
Frequently Asked Questions
1. Can I just use my 240V dryer outlet?
Perhaps, but we’d argue against it. First, it’s just plain inconvenient—are you really going to unplug your dryer every time?
Second, most dryer circuits are only 30A, which will limit your charging speed.
Third, those outlets are not designed for the heavy, daily wear and tear of an EV plug.
A dedicated circuit is always the right long-term answer.
2. What’s the difference between a hardwired and plug-in charger?
A plug-in charger connects to a 240V outlet (like a NEMA 14-50). A hardwired charger is wired directly into the circuit, with no plug. Electricians, in general principle, prefer hardwiring. It’s a more robust, weatherproof connection, removes a point of failure (the plug), and often allows for higher power (e.g., 48A) than a plug-in (which maxes out at 40A).
For more details read our guide on Hardwired Vs Plug-In EV Charger Installation: Which Is Right For You?
3. Do I really need a permit for this?
Yes. 100%. This is a major electrical installation, not a toaster. A permit ensures it’s done to code, which is vital for your safety and your home’s insurance policy. If your house burns down from a non-permitted install, you know, your insurance company has a pretty good reason to deny the claim.
4. How much does a full service panel upgrade cost?
This is the big one. On average, a full panel upgrade (e.g., from 100A to 200A) will run you anywhere from $2,500 to $5,000. It’s a big job. It depends heavily on local labor rates and the complexity of the service line coming into your house. This, right here, is why you do the assessment first.